From the archives: Basic Standing Dog pattern

I had a request from Lauren to bring a couple of my older patterns up to date a little more quickly. I prefer to do this with new instructional pictures, but since I don’t have time for that right now, I’m just going to revive the old blog post for this one.
I’m not even sure what’s going on with the pattern pictures here: some of the pieces are clearly ones I’d printed from an Inkscape file, but I published a photo of the printed-and-cut pattern pieces instead? What were you doing, Past Karen?
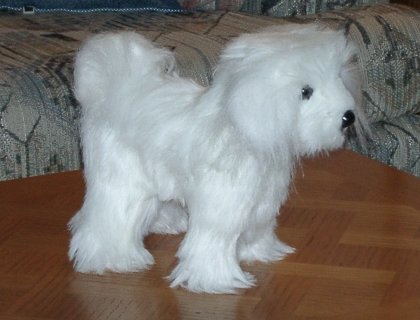
I had visions of making heads and tails for different breeds, but the only one I made is a bichon frise; as I recall I made it for my mother or mother-in-law to give to a friend who had (or perhaps had just lost) a bichon. And now, let’s go back to 2002:
The Pattern
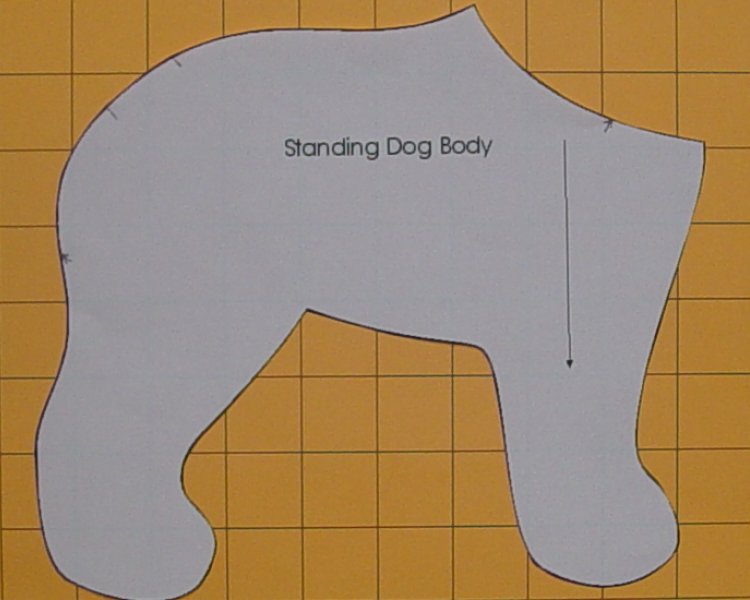
Unlike my newer patterns, this fellow comes with a seam allowance. If you print these patterns out at 8×10″, you < should come up with a 1″ grid, and he’ll have a 1/4″ seam allowance. That’s a bit slim for some fabrics, which is why I do cutting-line patterns these days and let you choose your own. Also unlike my newer patterns, I’ve actually put grainline arrows on these pieces, showing the direction the fur should run.
Cut two of these (one reversed).
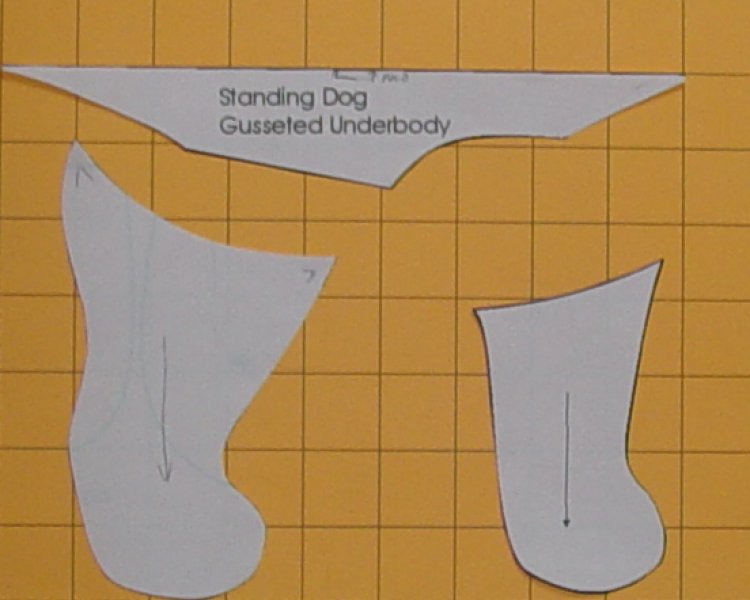
Cut two of each of the legs (one reversed) and one of the underbody. Although there’s a foldline, don’t actually cut the fabric with it folded – trace half, flip the pattern on the foldline edge and trace the other half. The fur pile should run toward the back (right to left).
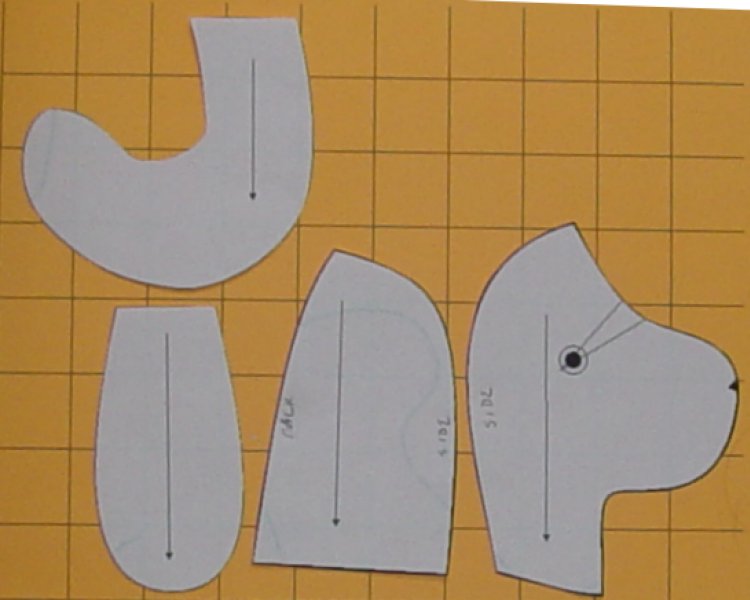
Cut two of each of these (one reversed) except the ear, of which cut four. If you’re using a fluffy fabric, cut the two ear linings out of something else – calico, felt, satin, whatever you like ear-insides to be.
If you’re using a fluffy fabric, especially if you have a wider seam allowance, shave it now. Be careful not to shave too far, or you’ll have bald spots on the seams. Shave inside the eye darts, too.
Sew the tail pieces together, leaving the base end open. Clip the inside of the curves and turn (a turning tool is useful here). Stuff lightly. Do the same with the ears, but don’t stuff them. Sew the eye darts (the marked line is the same line).
Match the side seams on the head, RST, pinning the base of the ear into the seams, and sew. Make sure the ears are symmetrical – they go about where the curve of the head back is sharpest. You may choose to leave them out, and sew them on by hand later.
Match the two head sides, RST, and sew them together. Turn the head rightside-out. If you’re using safety eyes/nose, you can put them in now.
Match the front legs with the underbody gusset, RST, pin and sew. Match one rear leg – the gusset will only go partway across the top of the leg, so stop 1/4″ from the end of the gusset. Match the other rear leg to the underbody+leg, matching the back top corners of the legs and making sure the front top corner is symmetrical with the first leg.
Match the underbody piece with one body side, RST, and pin – begin with the paws, and work out to the front and back ends of the underbody. Sew, then pin the other side, also matching the two body pieces along the dog’s back. Pin the tail in the back seam, making sure it’s aligned correctly (the tip should point toward the front of the dog). Sew all the way around, leaving a turning opening in the dog’s back, and remembering not to sew the neck closed!
You should now have two pieces – the head (right side out) and the body (inside out). Put the head inside the body, matching the neck seam (make sure the dog is facing the right direction – he can face sideways, but backwards is probably a bad idea), and sew all the way around. Turn the body rightside out, stuff, and ladder-stitch the stuffing opening closed.
Trim the fur around the face and paws as desired, embroider a mouth, and you’re done!